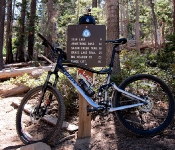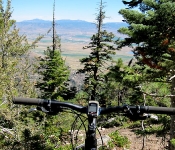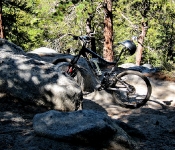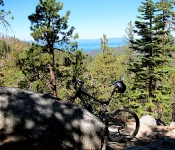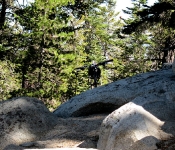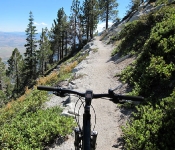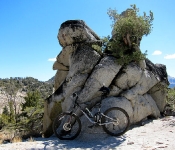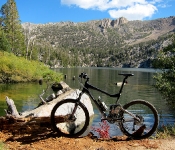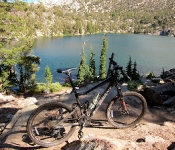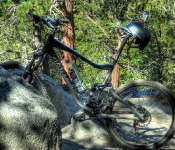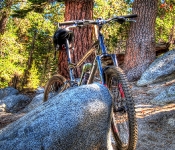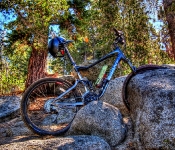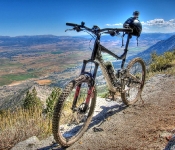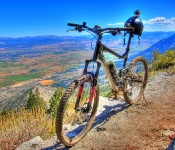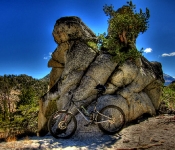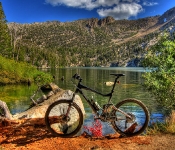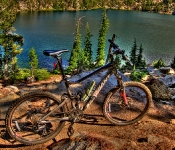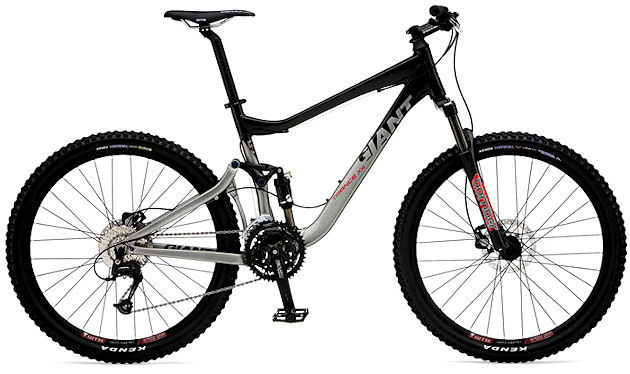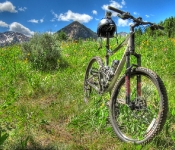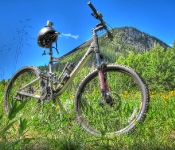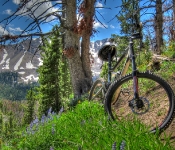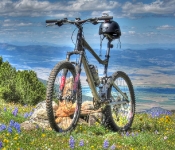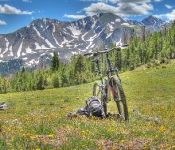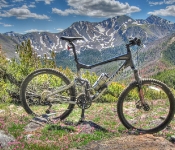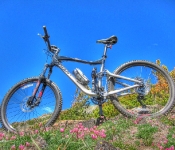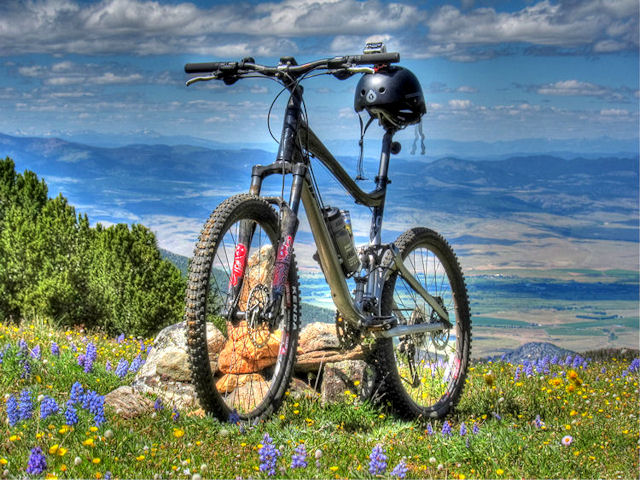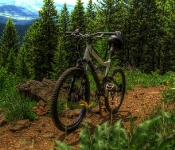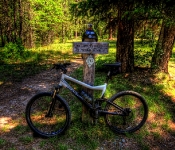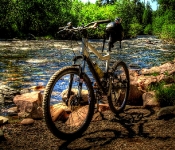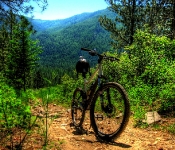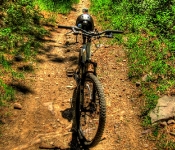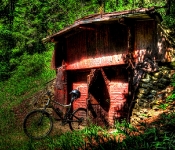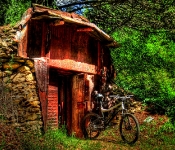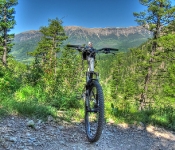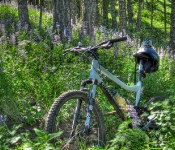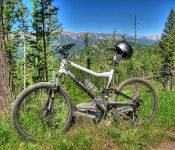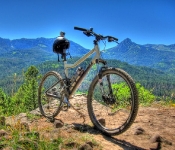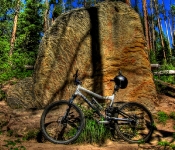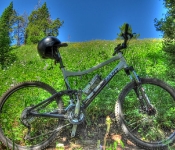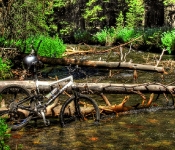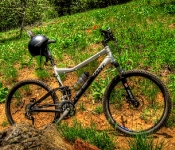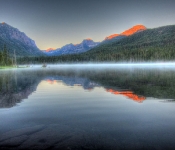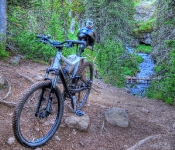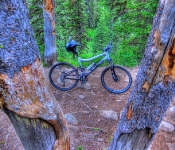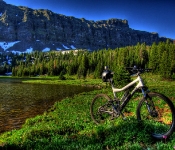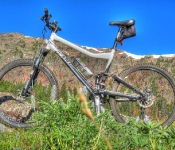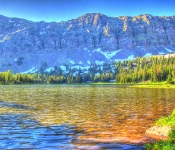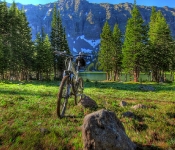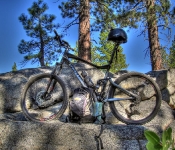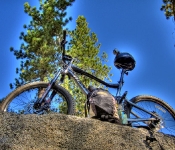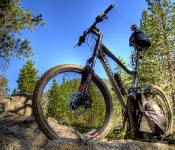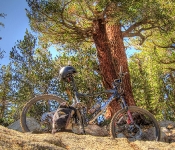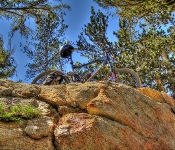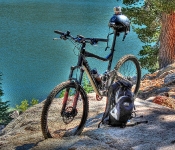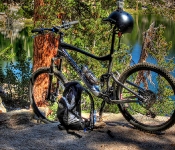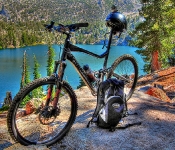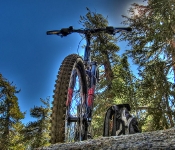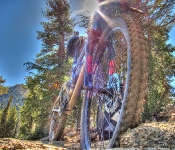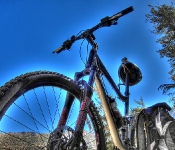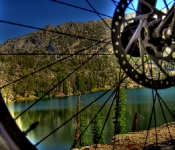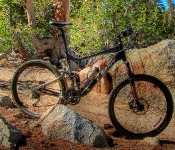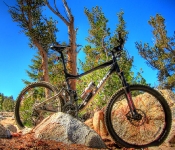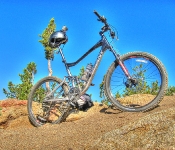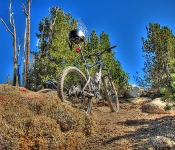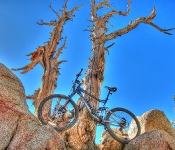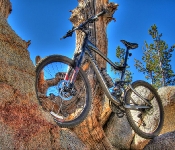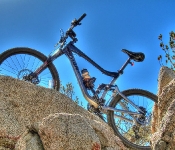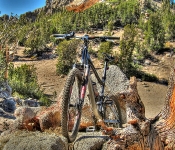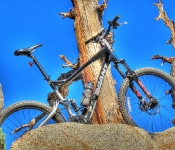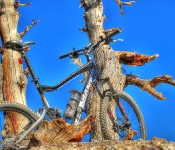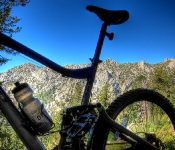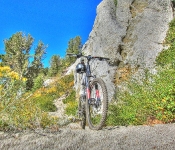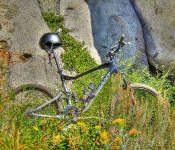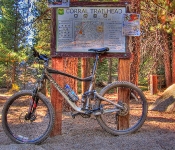
Giant at Star Lake on the Heavenly Valley to Armstrong Pass Trail
After my 2 crashes on the Curly Lake trail in Montana in August I was really looking forward to getting back on the trails. This trail came highly recommended to me, as offering some of the best scenery in the Tahoe Basin. I was told that it was a very strenuous ride, but I was convinced I was up for it… Boy was I wrong, I got slaughtered on this trail!!

Trail Stats & Information
Nearby City: Minden
Length: 23.43 total miles
Trail Type: Point to Point
Skill Level: [ What the books say ] Aerobically: strenuous. Technical : easy to difficult (mostly moderate)
Skill Level: [ My opinion ] Aerobically: extremely strenuous. Technical : moderate / difficult
Duration: 5 – 7 hours [ my time ] 6.20 hours
Trailhead Elev: 7,500 feet
Top Elev: 9,000 feet
Book Description
My Experience
Although I had not been on the bike for a month due to some injuries I acquired on the Curly Lake Trail in Montana, I was pretty stoked and confident that I was up to doing this trail. I was warned that this trail was pretty strenuous, but that doesn’t mean much in most cases.
I was dropped off at 11.00 am the Stagecoach ski lift at Heavenly Valley, I planned to do the ride in about 5 hours, but luckily for me I made a calculation mistake, and told my girlfriend to pick me up at the Armstrong Trailhead at 5.00 pm, which gave me an extra hour… and boy did I need that extra hour!!
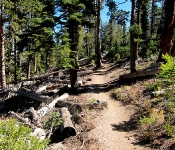
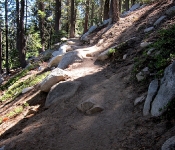
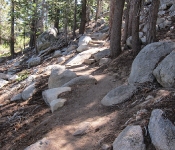
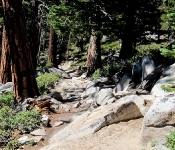
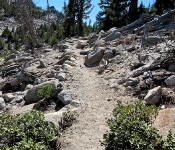
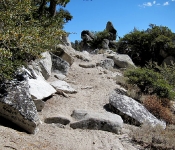
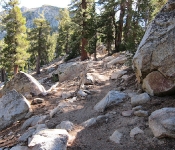
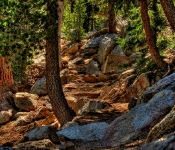
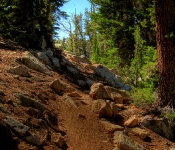
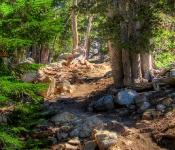
The trail starts at the ski lift with a moderate climb, nothing too serious, the first 2 miles were pretty well used by hikers. After the first mile the trail becomes very strenuous and rocky, and it continued to be very rough for the coming 6 miles, and I walked about 80% of this section, and even the walking was strenuous. It took this trail 20 min. to slap me in the face, and made it clear that I was bang out of shape, and this trail was just too strenuous.
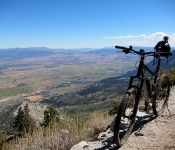
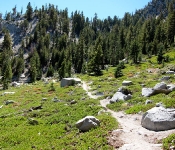
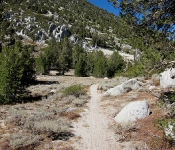
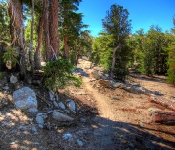
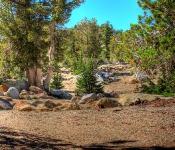
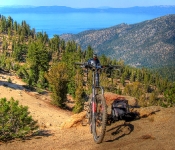
Luckily for me, although the first 12 miles is uphill, it is not at all steep, it’s a gradual climb, and the scenery is just stunning.
Completely slaughtered I finally made it to Freel Pass… this is where the fun starts.. downhill all the way to the end!!
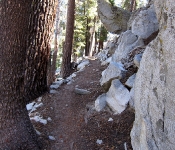
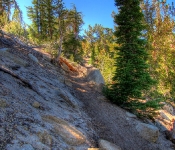
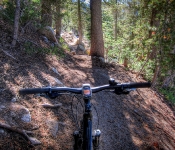
The downhill was absolutely superb, narrow rocky singletrack, with superb views. You will really want to open up on this section, but you will soon realize that, that is not a good idea, there is a lot of loose sand / gravel on the trail.
If you do not like narrow rocky singletracks with long drop-offs, then you should avoid this trail. There are also 2 extremely tight switchbacks on this section, hit these too fast, and you will have about 6 seconds to learn to fly, ‘cos it’s a hell of a long drop before hitting the ground.
From Freel Pass to Armstrong Pass is fantastic, but heading down the Armstrong Pass Trail is like a dream come true.. sweeeeet singletrack , smooth and rocky, fast and slow and everything else a mtb’er longs for.
Conclusion
The first 15 miles of this trail is just brutal, I don’t care how fit you are, or how technically gifted you think you are, you will spend a lot of time walking this section. Luckily it is not too steep, and it is very scenic.
The real fun starts at Freel Pass, from here it is 99% downhill or 1.5 hours of some fantastic downhill.
Other Info:
Traffic on Trail : Groups of hikers at Heavenly and at Armstrong Pass
Wild Life : I did not see anything.
Scenery : excellent scenery
Other : Take extra water and energy nibbles.
My Trail Rating : 8.5 / 10
.
.

