Tag Archive for: handful

There is probably nothing worse than the fact that EVERYONE in a 40 mile radius knows when you are Mountain Biking because of squealing MTB Brakes.
At one point every mountain serious mountain biker will experience this embarresment. In some cases squealing brakes can get so bad that you even decide not to go on a ride.
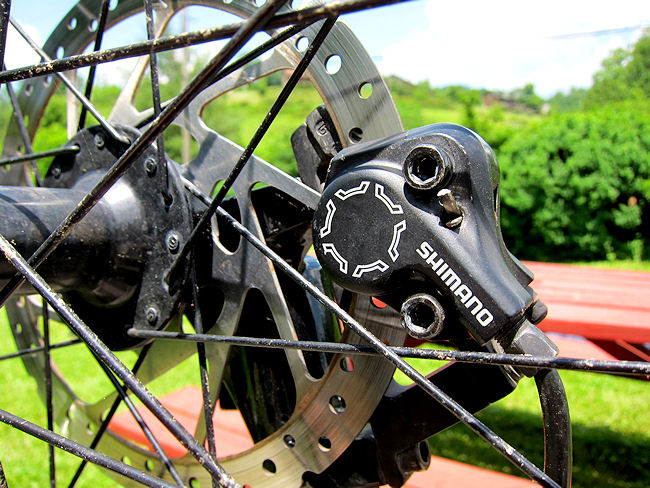
 

Fix squealing MTB Brakes 

There are many reasons why brakes start squealing, but by far the main reason is “Contaminated brake Pads” and / or “Glazed Pads

Contaminated brake Pads usually get contaminated due to for example brake fluid running onto the pads / rotor.. I always bleed my own brakes, and I like to think I am careful, but eventually you will get oil on your pads and or rotor. Once your brakes / rotor is contaminated, then you have zero brake power.

Glazed / Shell Pads usually happen when you have been on a trail that needs a lot of braking.. for example a fast downhill section. The brakes get so hot it can cause a very thin layer of glaze / shell to cover your pads.. Although in this case you will still have some braking power, it often comes with the dreaded squeal. A quick trail fix for this is to use use your camelbak to spray some water over the brakes and rotor, followed by a handful of sand.

A less common reason for Squeal can be a loose rotor and or a rotor that is not aligned properly, and minor vibrations can cause Brake Squeal.

Cleaning contaminated brakes, and / or Glazed / Shell Pads is actually pretty simple, cheap and the best news is, it works!!

Here is how I get my brakes working like new again… Now before I continue, I would like it to be clear that I am NOT a mechanic, and I’m not saying that my way is the proper way.. I’m just sharing my own personal method and experience. I would love to hear from others how YOU clean your brakes.

This method is the exact same for both front and rear brakes.

Time needed about 20 min per brake
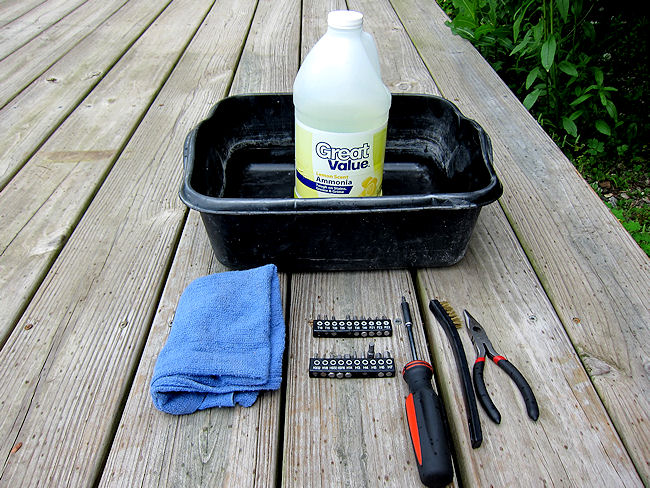
 

 Fix squealing MTB Brakes


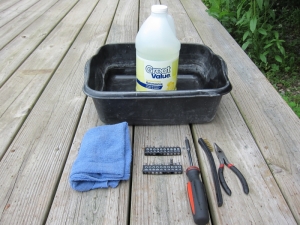
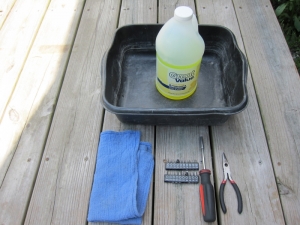
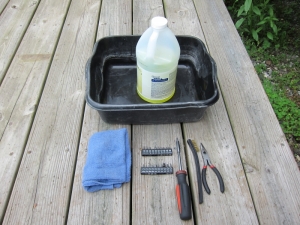
Tools needed:

  • 1 small plastic bin ( large enough to fit your rotor )
  • A cup of Ammonia and a cup of boiling water.
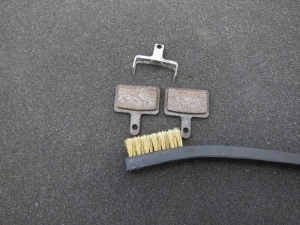
  • A small soft wire brush
  • A cloth
  • A pair of pliers
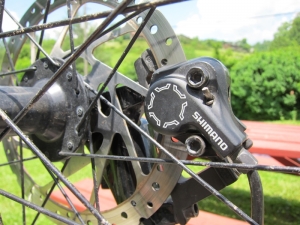
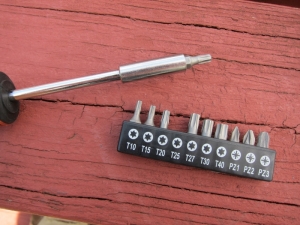
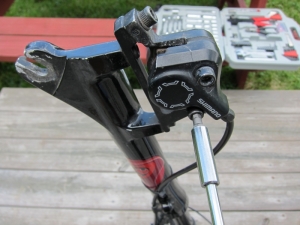
  • Tool to undo the Rotor and loosen the brake caliper.
  • Gas cooker / oven


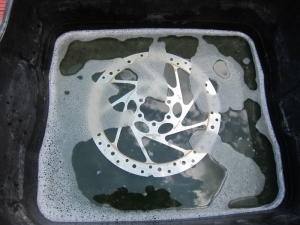
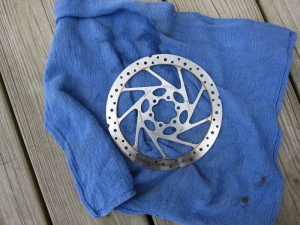
First undo the ( usually) 6 screws that hold on the rotor – remove the rotor from the wheel – put the rotor into the plastic bin, and add the cup of ammonia and the cup of boiling water.
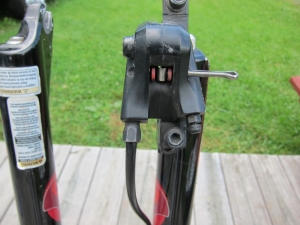
Leave the rotor covered and continue to remove the brake pads.

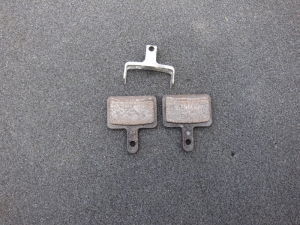
Once the pads have been removed, use the soft steel brush and some of the amonia from the plastic bin and scrub the pads, scrub for about 30 sec. per pad.
You will notice a huge difference after scrubbing.

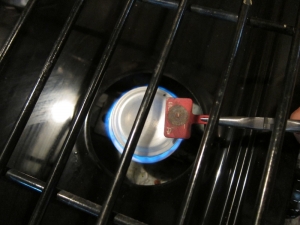
The next step is to give the pads a “Heat Treatment” I myself use a Gas Cooker, and heat the pads for
about 40 sec. each, holding the pad with the pliers moving the pad around while heating it.

** You can also slowly heat the pads in an oven at about 200C / 400F for 30 minutes

While the pads cool of you can dry the rotor and fix it back into place ( don’t touch the rotor with your greasy fingers)

The final step is to put back the pads, make sure everything is fastened properly.


Congratulations your brakes will be as good as new and without the squeal.


For years now I’ve been hearing and reading some good stories about the Tucson Trails, and although I had tried a couple of times to fit Tucson into my list of destinations, it never panned out.. until this time.

While on one of the Moab Trails in October, I got talking with two fellow Mountain Bikers [ Doug & Bill ] They were a wealth of information about Mountain Biking Trails throughout the USA, which also included the Tucson Trails.

As luck has it, when I arrived in Tucson I unknowingly set up base at the “Desert Trails RV Park” just 3 sites down from Doug who I had met in Moab, and both he an Bill were staying there, this meant I was gonna get the full trail intel incl. free guides.
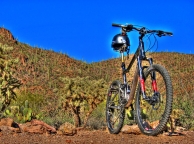
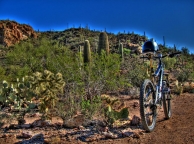
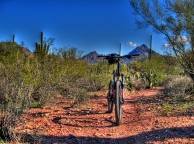
I spent 4 weeks on the Tucson trails. and I just touched the surface of what Tuscon has to offer. I will definitely be back soon to ride all the trails I missed this time round..


My Experience


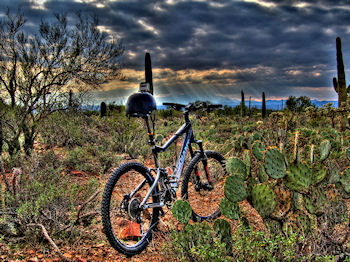
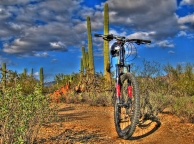
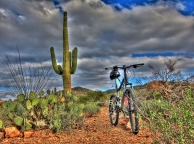
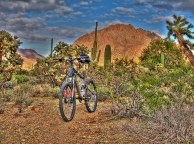
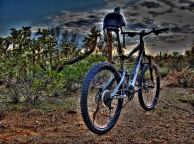
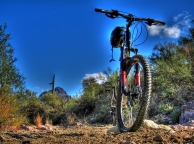
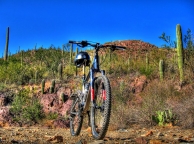
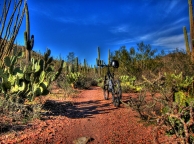
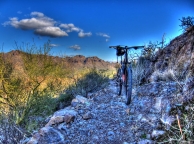
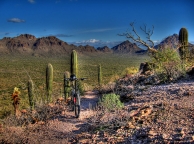
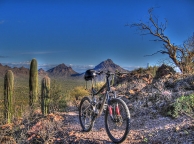
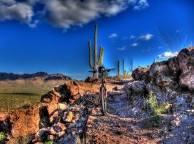
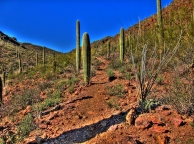
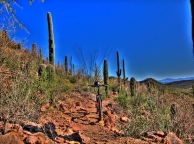
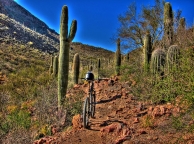
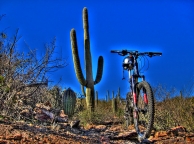
Riding the Tucson Trails for the first time was a great experience, it’s pretty daunting looking up at 40+ ft. cacti, thinking just ONE thing.. “Shit I hope I won’t be huggin’ one of them” .. The brain however must switch off, ‘cos minutes later I was dodging the cacti like I had a death wish.

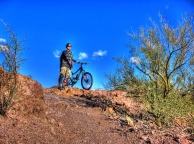
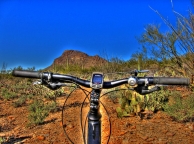
I was lucky in Tucson, I had 2 well seasoned guides [ Doug & Bill ] that kindly showed me a handful of trails,’cos although the trails great, and clear, they are not very well marked and believe me there are plenty of places one can go wrong, and the Tucson dessert is not a friendly place to get lost. Your safest bet is to, just like me [ if just like me you are lucky ] make use of a guide, followed by a really good map, a shit load of navigation skills, and spare tubes!!. I used more tubes in the 4 weeks in Tucson, than in all the 5 previous years!. I used a “Tuffy” liner front and back, and slime tubes, and still had to take out a mortgage to finance my tubes.. and don’t think if you shred on “Tubeless” you are off the hook, ‘cos you ain’t!
I must say however, that the “Tuffy’ liners really did improve things, and I would highly recommend them in Tucson.

Although there were no really high trails, or at least not the ones I did, this doesn’t mean there are no strenuous climbs, and manic downhill sections, ‘cos there are lots of them, what I call short, brutal & fun.

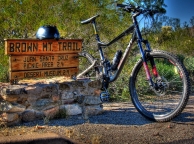
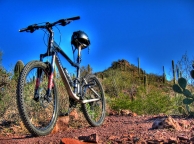
One of my favorite trails was the pretty technical and very demanding “Brown Mountain” Trail.. don’t be fooled just because it’s just under 5 miles, ‘cos at some point you will curse this trail. I attempted Brown Mountain 5 times, the first 2 times I cleared without any problems apart from destroying my lungs!. However the last three times I ended up walking down, completely defeated or should I say deflated, cos three blowouts in three attempts, because of this Brown Mountain became together with the Porcupine Trail in Moab my most expensive rides, and it kicked my arse!
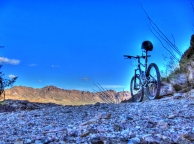
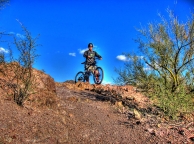
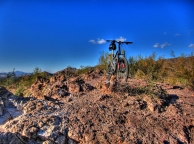
The final downhill section is pretty sick, and it was actually the first time I opted for semi-full body protection, and boy am i glad I did. The trail consists of of razor sharp rocks, and a lot of very scary looking cacti. This is definitely not a trail where you wanna lose your cool.

Another trail I really enjoyed was the Explorer Trail, another short but brutal trail. This is an “out & back” with a lot of climbing, a pretty technical section and of course a lot of downhill. This downhill is not as steep as the Brown Mountain section, however is is much longer, and because it is not as steep, you are more inclined to open up, and that can be very dangerous. Stay on your steed on this trail, and you will enjoy every minute of it.

The Robles Trail system offers miles and miles of fantastic trails, and it doesn’t matter how you do them, clockwise or counter clockwise, they are great both directions. Some moderate climbs, a handful of technical spots and some really fast flowing runs make the Robles System a MUST!

Another must do fantastic out and back is the Pistol Hill to Three Bridges Trail. This section is about 17 miles of the 800 mile Arizona Trail. There is quite a bit of moderate climbing on this trail, and eventually it physically catches up with you.. I was doing fine until about mile 12, and then my legs and lungs started giving up, and the last climb was very demanding. The really nice thing about this trail, is that it has one of the best finishes you can imagine.. The last 1.5 miles is a manic “Run Rabbit Run” a perfect finish to an excellent trail.

Conclusion

Tucson is a fantastic MTB Destination, although it is definitely not a summer destination, it could just be the best winter destination the USA has to offer. I can only speak for December and January, but the weather and trail conditions were perfect. I was pleasantly surprised at how quite the trails actually were, even during the weekend.

As I mentioned, I was in Tucson for a whole month, and I still just touched the surface of the Tucson trails. I will definitely head back to Tucson next winter, and will definitely explore all the trails I did not get to ride.

Any serious Mountain Biker looking to do some serious Mountain Biking in the winter months should definitely put Tucson on top of the list.


My Tucson Trails Rating : 8 / 10


Doug & BillI would like to thank Doug & Bill for the the time to show me some fantastic trails Tuscon has to offer. Without their guidance and trail intel I would have probably spent more time researching and less time shreddin’.

I’m sure our paths will meet again on a trail somewhere… Kudo’s to you both.