Easily fix squealing mtb brakes
There is probably nothing worse than the fact that EVERYONE in a 40 mile radius knows when you are Mountain Biking because of squealing MTB Brakes.
At one point every mountain serious mountain biker will experience this embarresment. In some cases squealing brakes can get so bad that you even decide not to go on a ride.
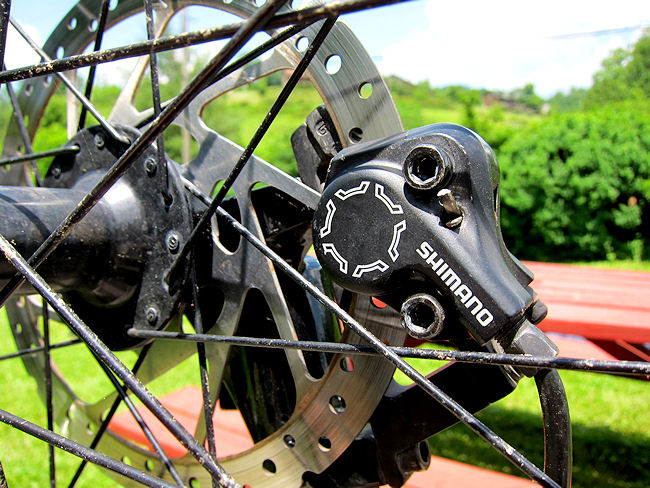
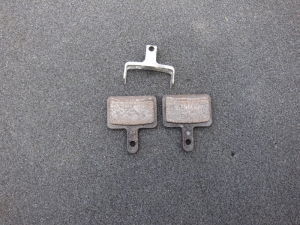
There are many reasons why brakes start squealing, but by far the main reason is “Contaminated brake Pads” and / or “Glazed Pads“
Contaminated brake Pads usually get contaminated due to for example brake fluid running onto the pads / rotor.. I always bleed my own brakes, and I like to think I am careful, but eventually you will get oil on your pads and or rotor. Once your brakes / rotor is contaminated, then you have zero brake power.
Glazed / Shell Pads usually happen when you have been on a trail that needs a lot of braking.. for example a fast downhill section. The brakes get so hot it can cause a very thin layer of glaze / shell to cover your pads.. Although in this case you will still have some braking power, it often comes with the dreaded squeal. A quick trail fix for this is to use use your camelbak to spray some water over the brakes and rotor, followed by a handful of sand.
A less common reason for Squeal can be a loose rotor and or a rotor that is not aligned properly, and minor vibrations can cause Brake Squeal.
Cleaning contaminated brakes, and / or Glazed / Shell Pads is actually pretty simple, cheap and the best news is, it works!!
Here is how I get my brakes working like new again… Now before I continue, I would like it to be clear that I am NOT a mechanic, and I’m not saying that my way is the proper way.. I’m just sharing my own personal method and experience. I would love to hear from others how YOU clean your brakes.
This method is the exact same for both front and rear brakes.
Time needed about 20 min per brake
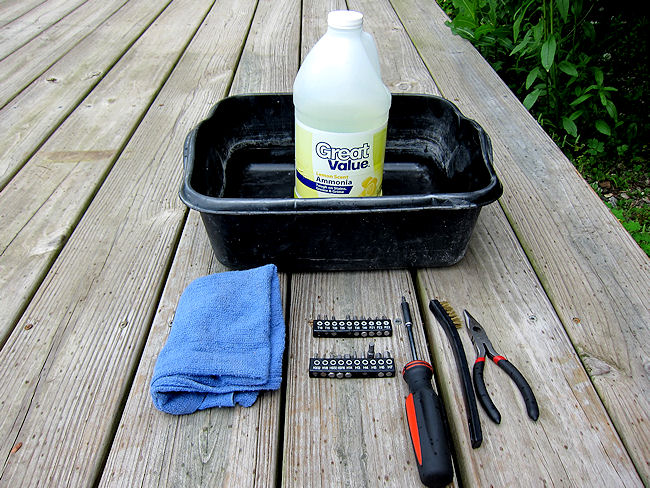
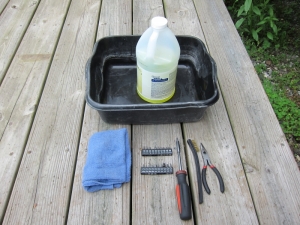
Tools needed:
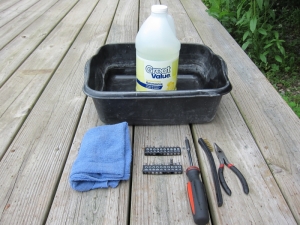
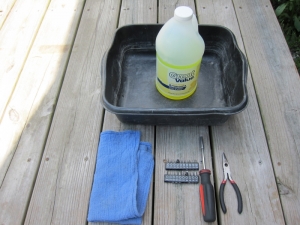
- 1 small plastic bin ( large enough to fit your rotor )
- A cup of Ammonia and a cup of boiling water.
- A small soft wire brush
- A cloth
- A pair of pliers
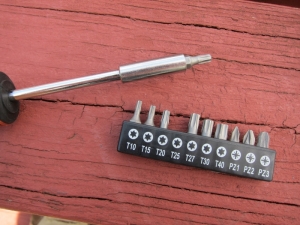
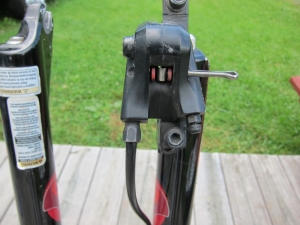
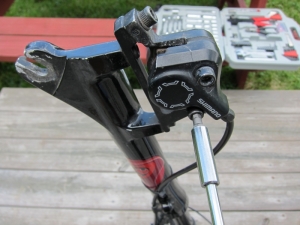
- Tool to undo the Rotor and loosen the brake caliper.
- Gas cooker / oven
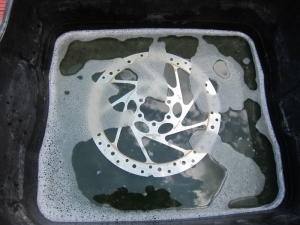
— First undo the ( usually) 6 screws that hold on the rotor – remove the rotor from the wheel – put the rotor into the plastic bin, and add the cup of ammonia and the cup of boiling water.
Leave the rotor covered and continue to remove the brake pads.
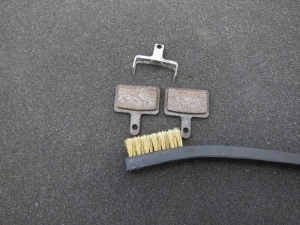
— Once the pads have been removed, use the soft steel brush and some of the amonia from the plastic bin and scrub the pads, scrub for about 30 sec. per pad.
You will notice a huge difference after scrubbing.
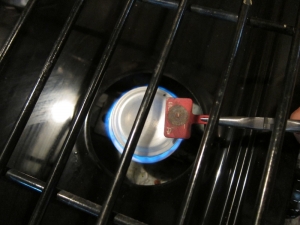
— The next step is to give the pads a “Heat Treatment” I myself use a Gas Cooker, and heat the pads for
about 40 sec. each, holding the pad with the pliers moving the pad around while heating it.
** You can also slowly heat the pads in an oven at about 200C / 400F for 30 minutes
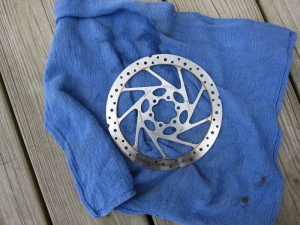
— While the pads cool of you can dry the rotor and fix it back into place ( don’t touch the rotor with your greasy fingers)
— The final step is to put back the pads, make sure everything is fastened properly.
Congratulations your brakes will be as good as new and without the squeal.


Hi, Cleaning the brakes to stop squeal is a good method but it’s only part of it.
You need to bed in the pads and rotorsif they are to work properly. if you dont, they will be ‘doughy’ and start to squeal again soon. To bed them in after cleaning, resetting, or renewal, you need to get up to about 20kph and apply the brakes hard to slow you to walking speed, then release without stopping. Do not stop the bike with the brakes applied during this process! Do this as many times as you can. This transsfers a layer of microscopic particles of pad material onto the disc. This layer is essential for correct operation of the braking process.
Some say that once your disc pads are contaminated with oil -“throw them away” My what a waste! We can send a space craft to Mars but can’t remove oil from pads? You CAN and this is one way of doing it:
1 Remove pads
2 Soak in Benzine for 15 min +.
3 Heat each pad with a gas flame until the pad glows red for about 5 secs.
4 Cool and lightly sand surface.
5 Soak in Benzine again.
6 Hit the pad with a high pressure jet of air.
Pads are now as good as new!!
Happy riding.
Thank you for the above advice. The howler monkeys have left my brakes. I had tried all of the above steps apart from heat treating the pads. I believe that made the crucial difference for me. As you said I was avoiding going out on the bike cos of the noise! After I type this, I’m going out!
Cheers!!!